When we left off the Danes had charged 1/Picardie and routed them. On their first opportunity however they rallied behind their supports as the rest of the French infantry pressed ahead!
A couple of interesting things have transpired by this point: firing has been heavy enough that the action is classified in Ga Pa terms as Heavy Action. This means that visibility has been reduced to only 300 paces. The chief impact of this is that generals who can’t see the commander-in-chief are out-of-command until they are brought into command. Out-of-command generals can’t order their troops to do anything, and they will act as uncontrolled troops if they aren’t activated, doing what seems best to the local colonel. (This action is determined randomly based on the units morale and circumstances using the uncontrolled actions table). Secondly, at the beginning of each turn, you roll for random events. Something usually comes up, but so far, and it continued for the rest of the game, nothing interesting happened!
Now, to bring a general into command, one can either move one of the commanders so that they are visible, try to put the subcommander into command through his own initiative, or the commander-in-chief can attempt to put the subcommander into command by order. All of these things use an order execution, and each general only gets 4 of those per turn, so they are precious to use. AND, neither command by initiative or command by order is certain. For the French it’s pretty dicey because the subgenerals don’t have high initiative and our CnC doesn’t have much by way of leadership.
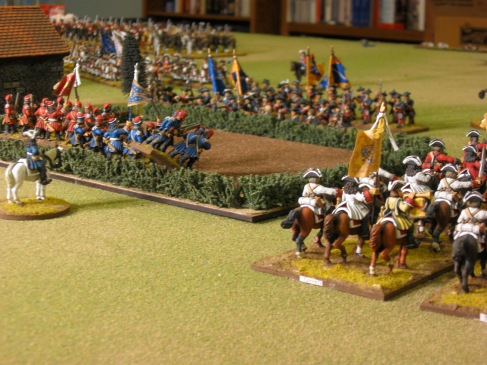
Now as it turns out, at the start of the game, I had some extra points due to not spending them all on command so I used some points to purchase Aides-de-camp. I used one of them to replace a lost general earlier, and now, I chose to use the other one to put the french general commanding the infantry into command, as he had lost visibility to the overall commander. This was bad timing, as those Dutch guys coming into the field in the picture above shot and killed the commander of those dragoons. From here on out the dragoons will act without a commanding general….
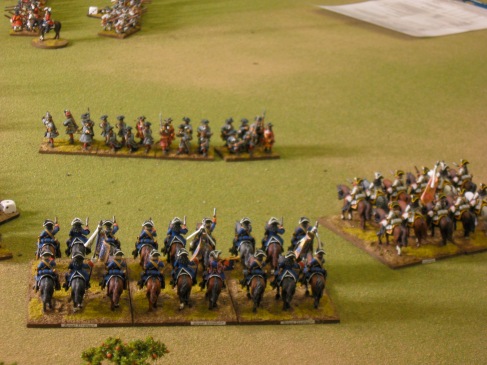
Things go well for the French infantry though as they begin to push back the Danes and dragoons in front of them.
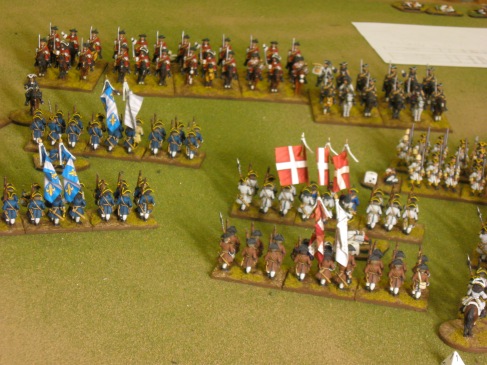
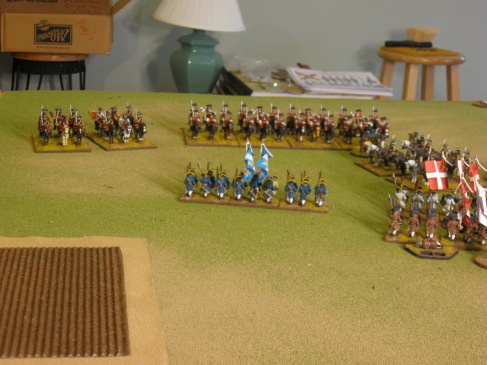
On the right flank, the French cavalry finally get moving. Courcillon is decimated from shooting by the Dutch regiment Pallandt, but Royal Etranger and Toulouse start to move around the flank of the Dutch line. The Dutch had some supporting infantry and guns extending the lines but as they advanced these lost sight of their commanding general and the local commander (using the uncontrolled move table) decided holding in place was the safest course, creating an opportunity for the French to exploit the gap.
As things developed, on the left, the French infantry continued to push but the Danish cuirassier got into the fight and managed to defeat the 1st battalion of Sparre, leaving only the 2nd battalion of Sparre holding the end of the line.
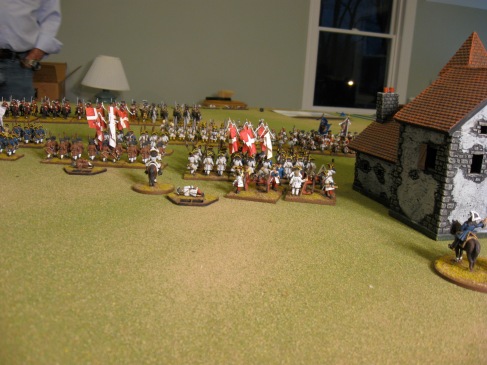
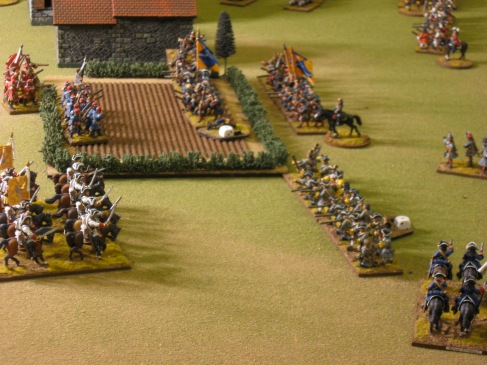
Looking down the length of the table you can see the Dutch infantry pushing the French dragoons out of the field next to the town while the French on the far end are pushing the Danish infantry and mounted slowly but steadily backwards. In this case the French infantry is a little better than the foot in front of them (higher morale) and the Dutch infantry is a bit better than the dragoons in front of them (higher morale and better shooting and close combat abilities).
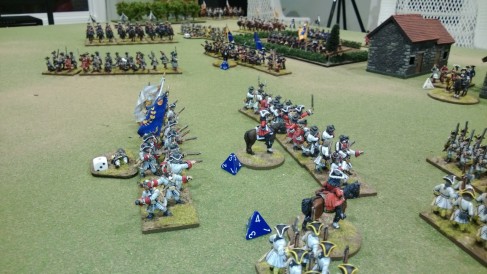
But bad and unexpected things can happen. In this case the French dragoons unleash a devastating volley and the Dutch infantry reels from the impact breaking and routing back through their supports. At the same time the French cavalry advancing on the lone unit of Dutch infantry guarding the flanks routs it as well!
You can see Royal Etranger looking at fleeing Dutch in front and the rest of the Dutch line beyond waiting to be rolled up. But, alas, it’s not enough. Toulouse who had been on their right exposed itself to the advancing Dutch who had previously held back (remember, out of sight, holding their position) but then saw the French advancing through the smoke and moved forward to engage them. They dispatched Toulouse which was half the French cavalry force down. At this point all the cavalry begin to withdraw. The Dutch on that side of the field had not quite lost half their force, so they were not forced to begin to withdraw. In time they would be able to rally enough to finish off the dragoons in all likelihood and then take the town. We conceded at this point that the French wouldn’t be able to hold and called it a wrap.
More painting to do, more units, more fun!
Thanks for posting this overview of the rules and play-test. I have recently ordered Gå På for us to try with our developing WSS and GNW gaming, so read your posts with great interest. It sounds like they are an excellent set that capture the flavour of the period well and provide an enjoyable and exciting game. Have you used them again?
Yes, I continue to use them. I haven’t played a game in too long, but hope to play in the next couple of weeks. Hope you enjoy them!